
Reduce. Reuse. Refinish.
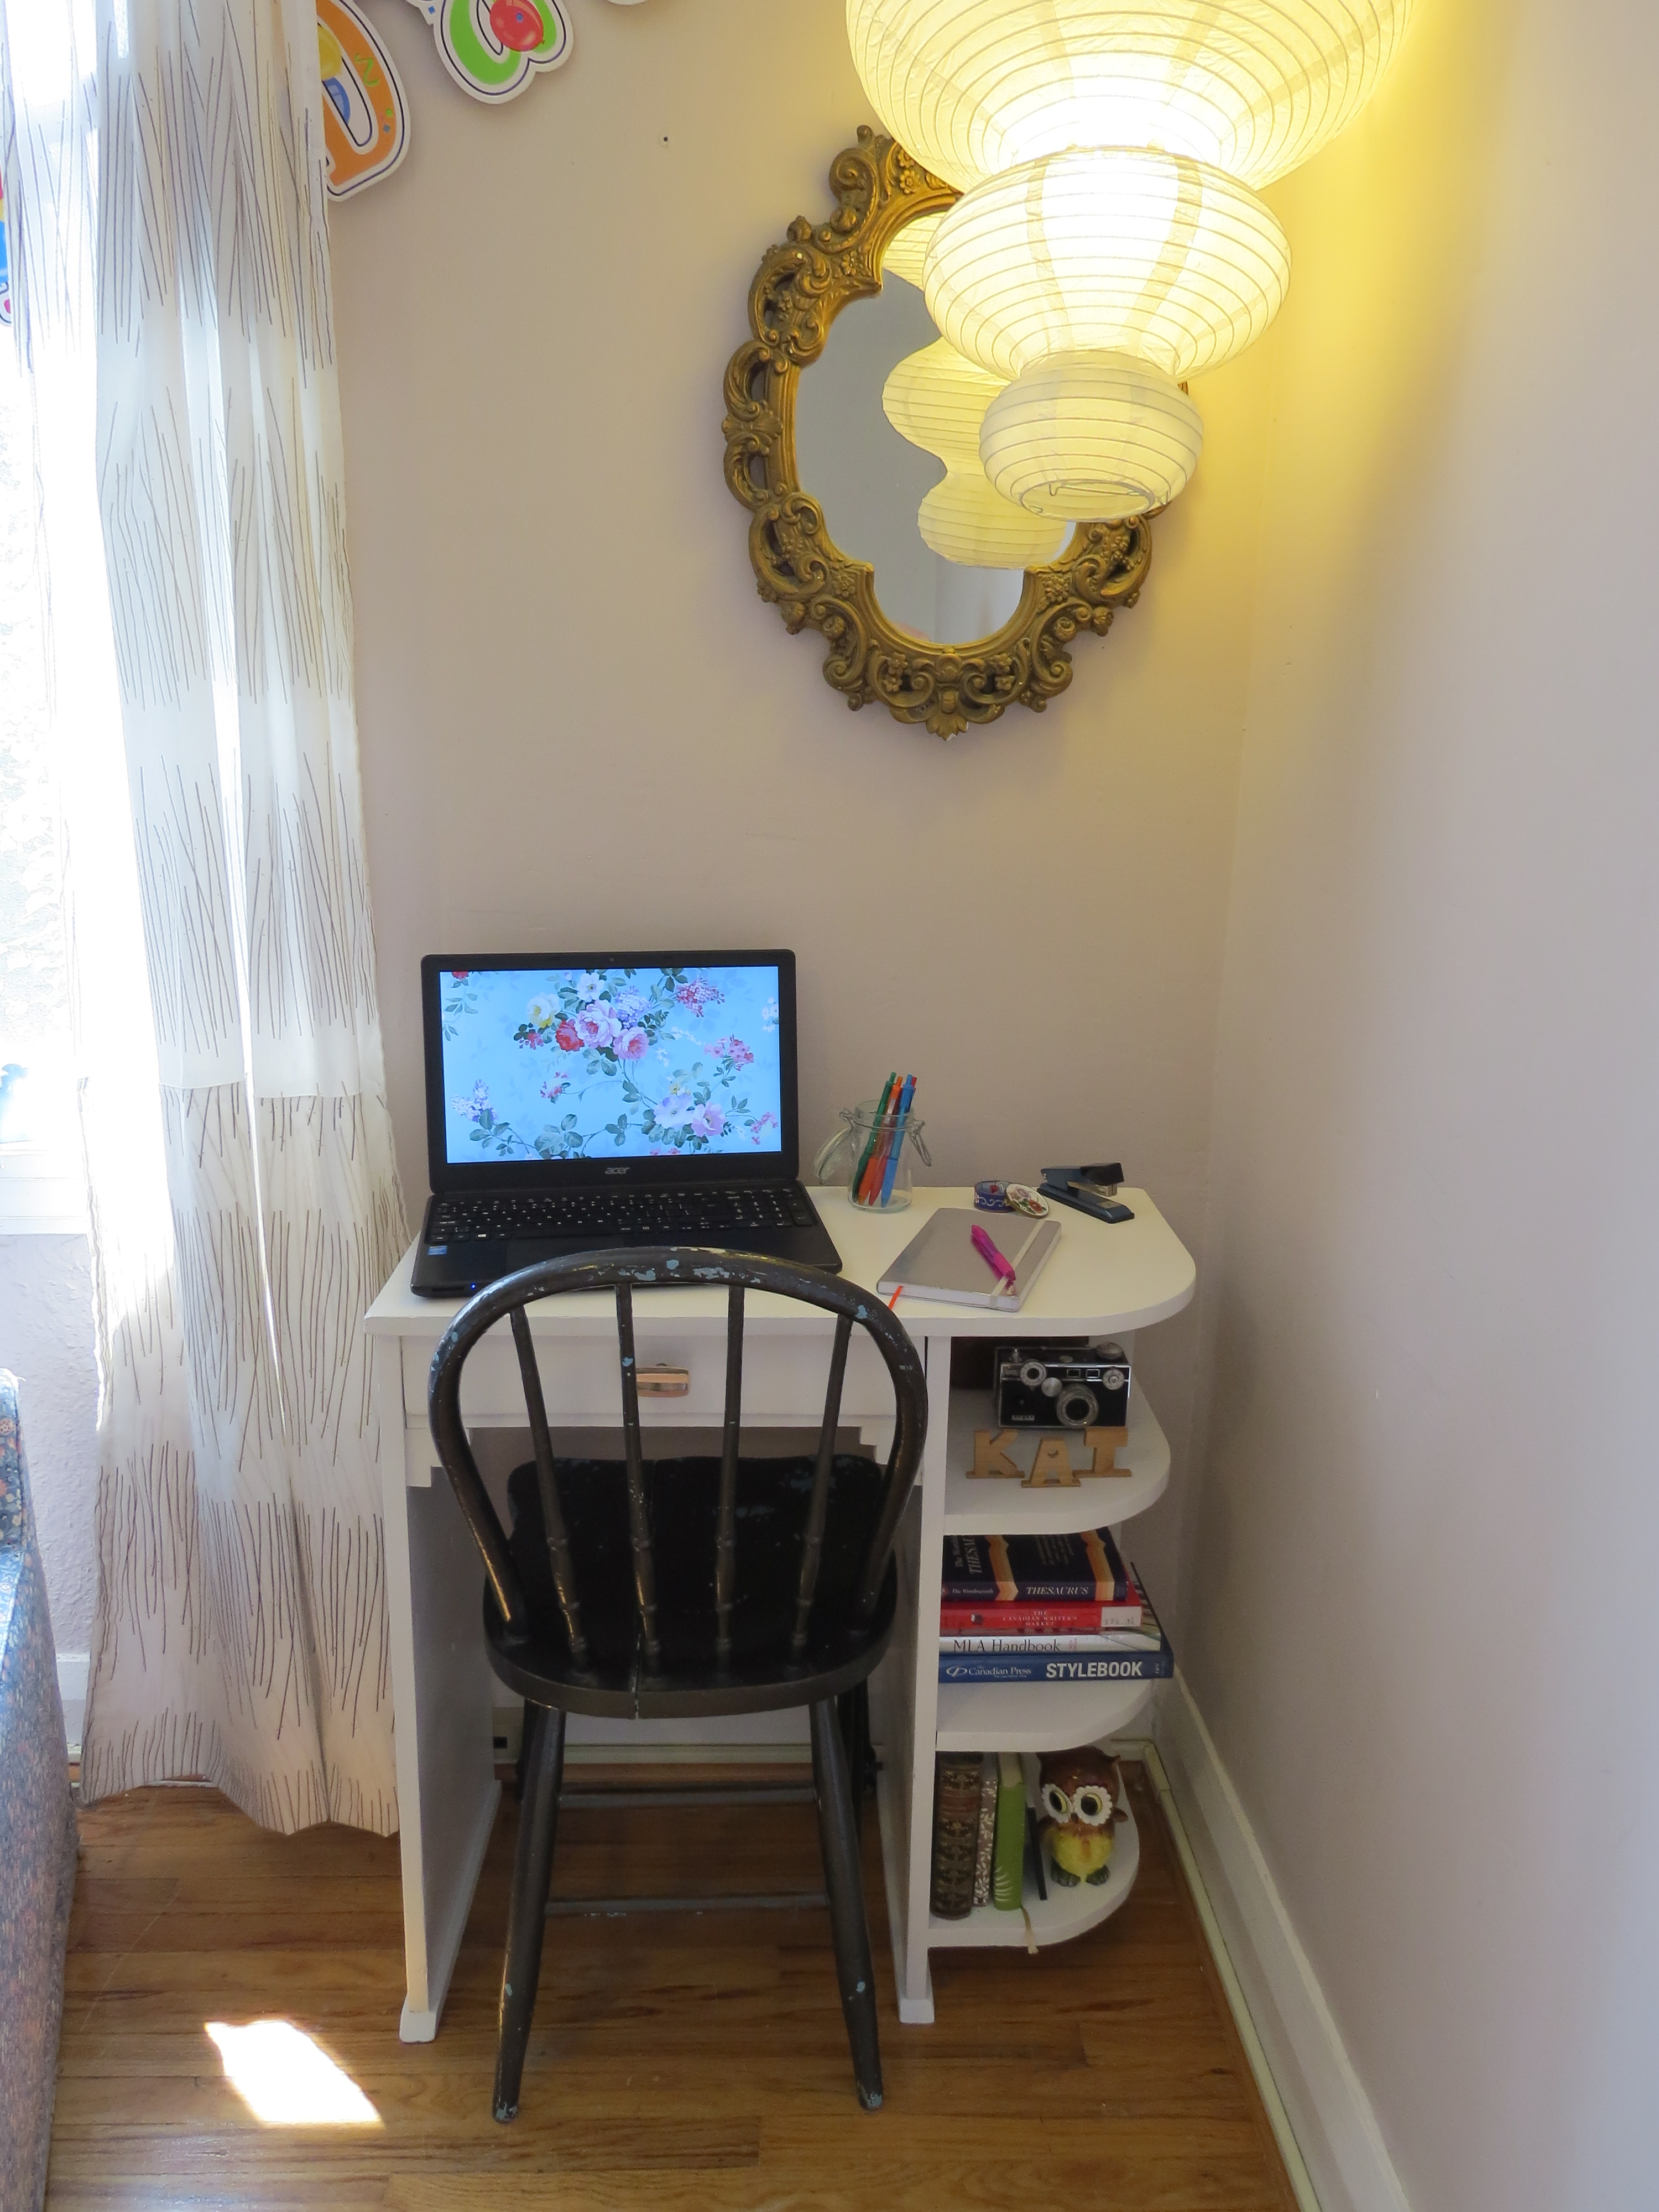
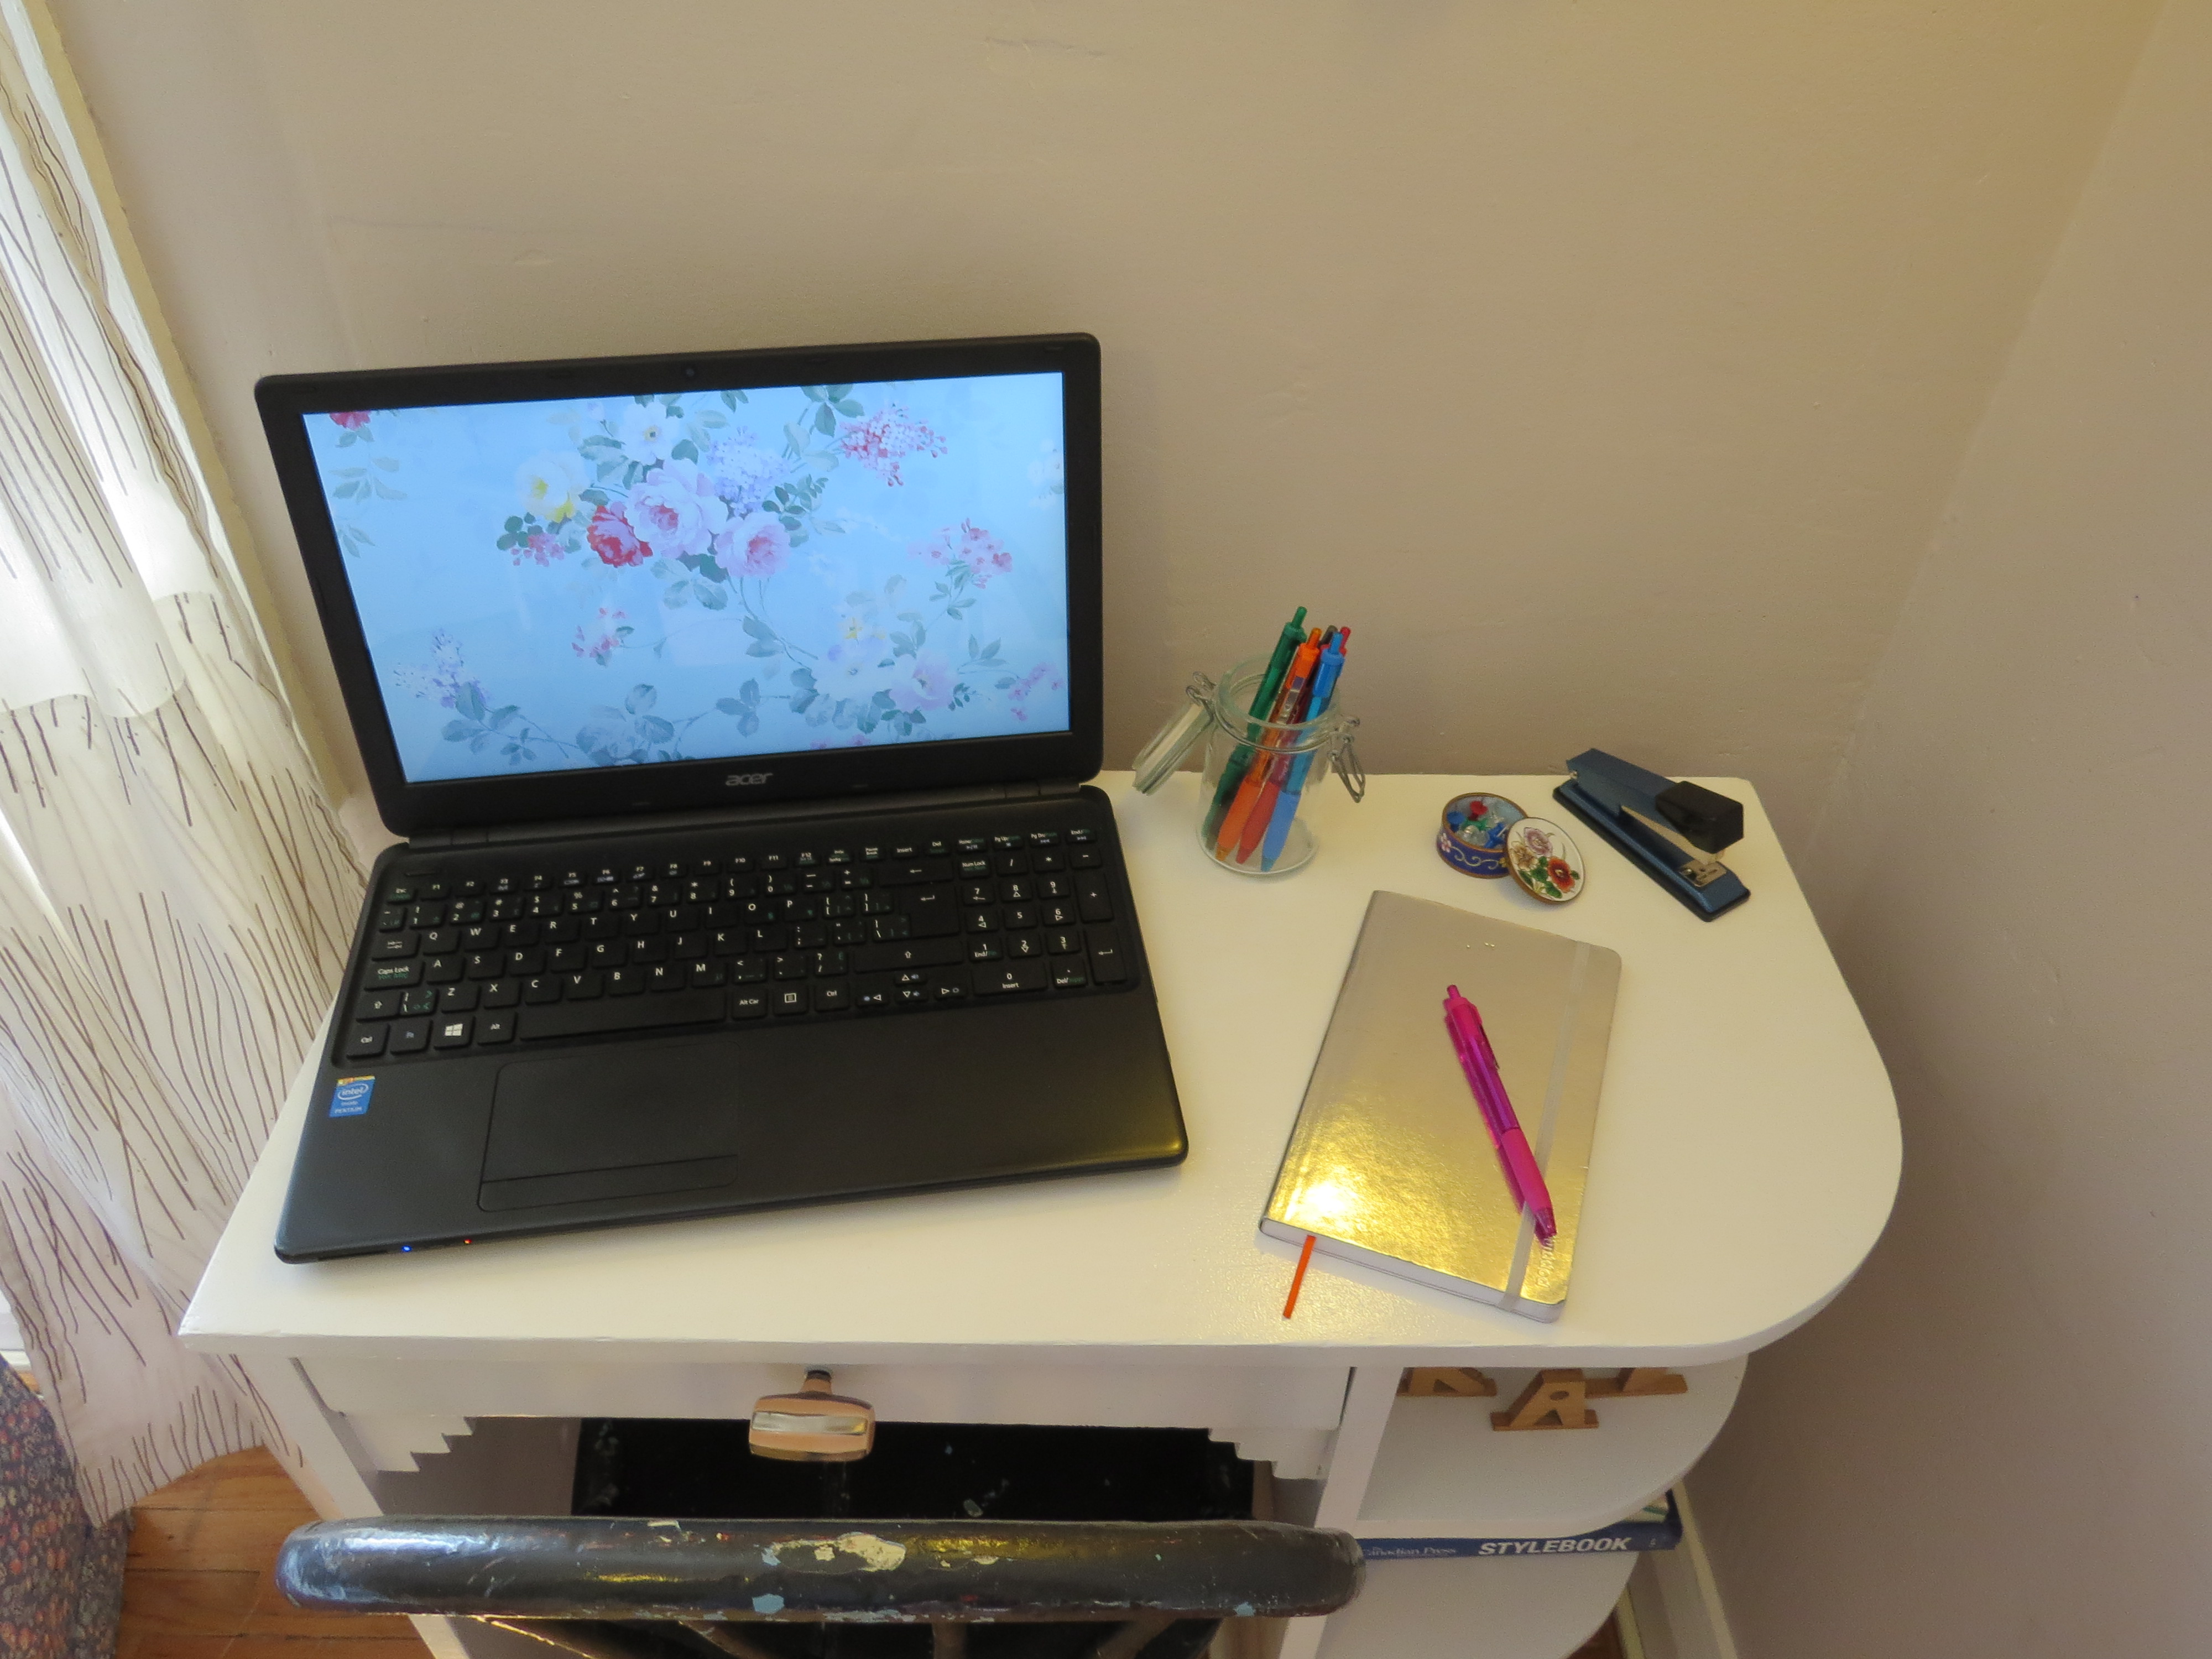
Reduce the presence of furniture. Find a tiny desk. Something that’s just exactly the right size for you. No extra space to act as a gathering spot for crap.
Reuse an old desk! Check out yard sales, charity shops, kijiji/craigslist, your parents’ basement, anywhere you can find old furniture. Often times buying used is cheaper, plus it’s environmentally friendly!
Refinish your new old desk. If you’re having trouble finding something that fits your design and style requirements, buying an old piece is the prefect way to customize something into what you want, without feeling like you’re “ruining” a perfectly good piece of furniture. Breathe new life into something that might otherwise go to waste.
Start with an old, crappy desk.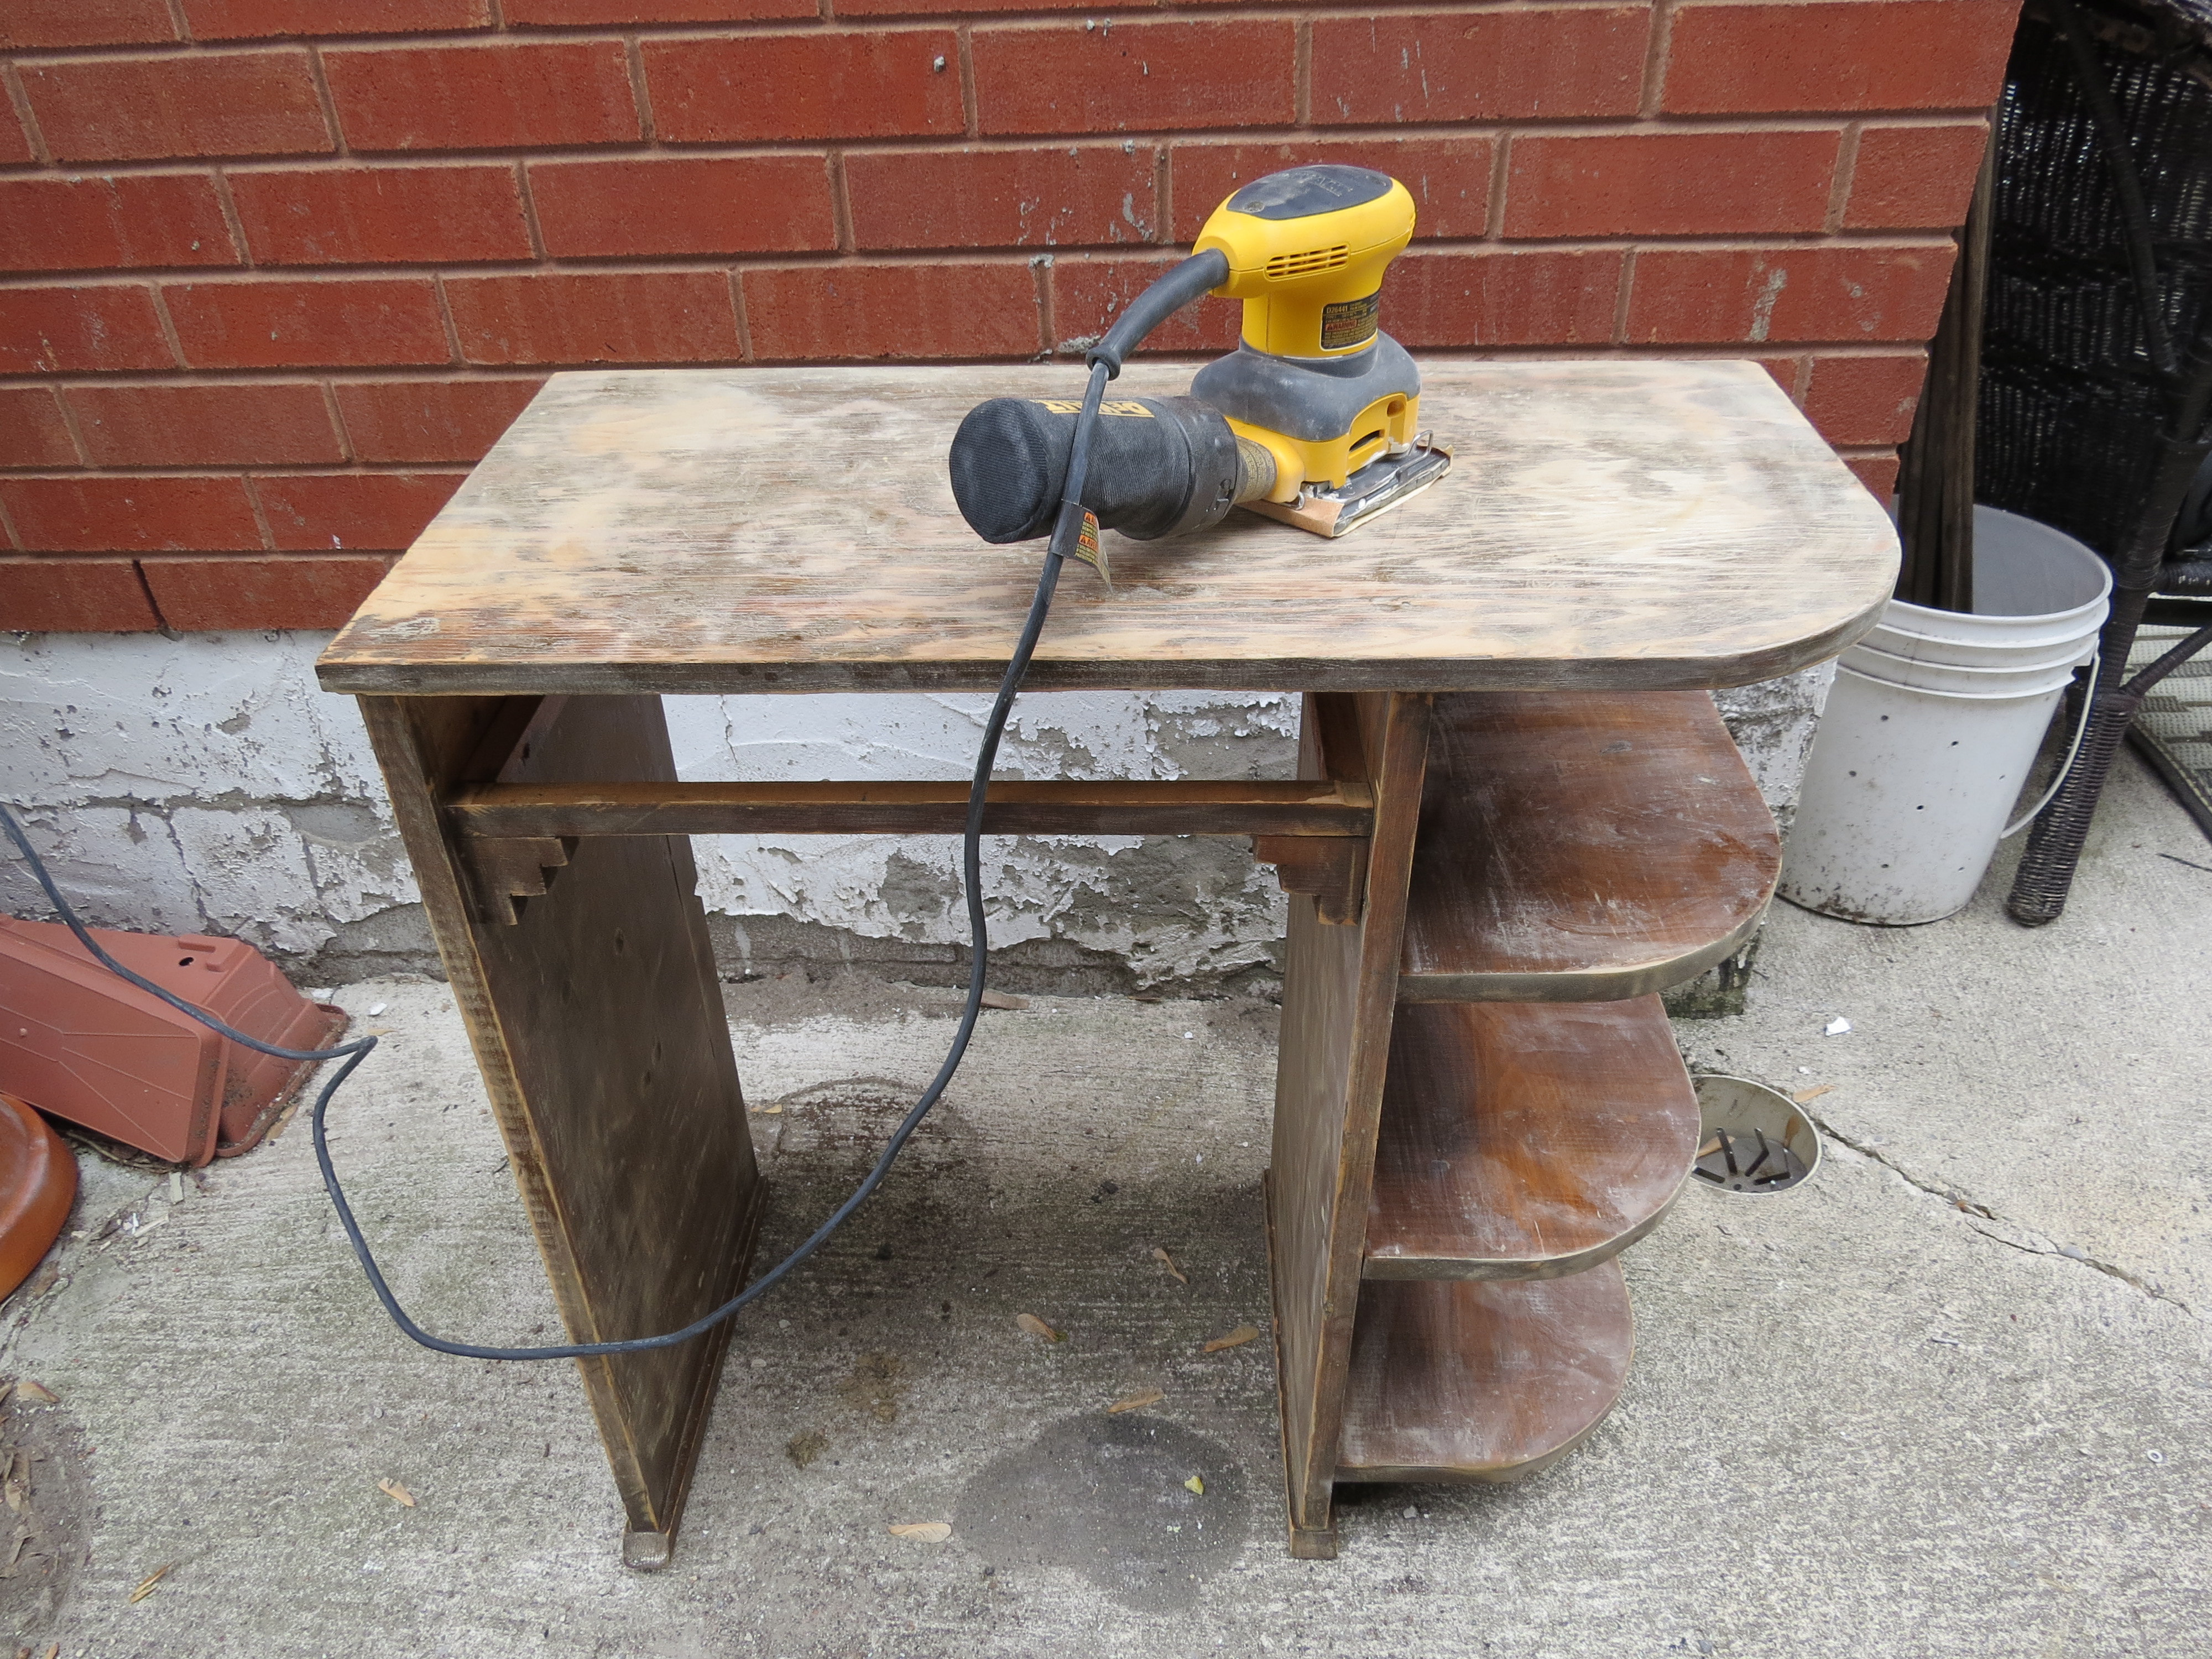
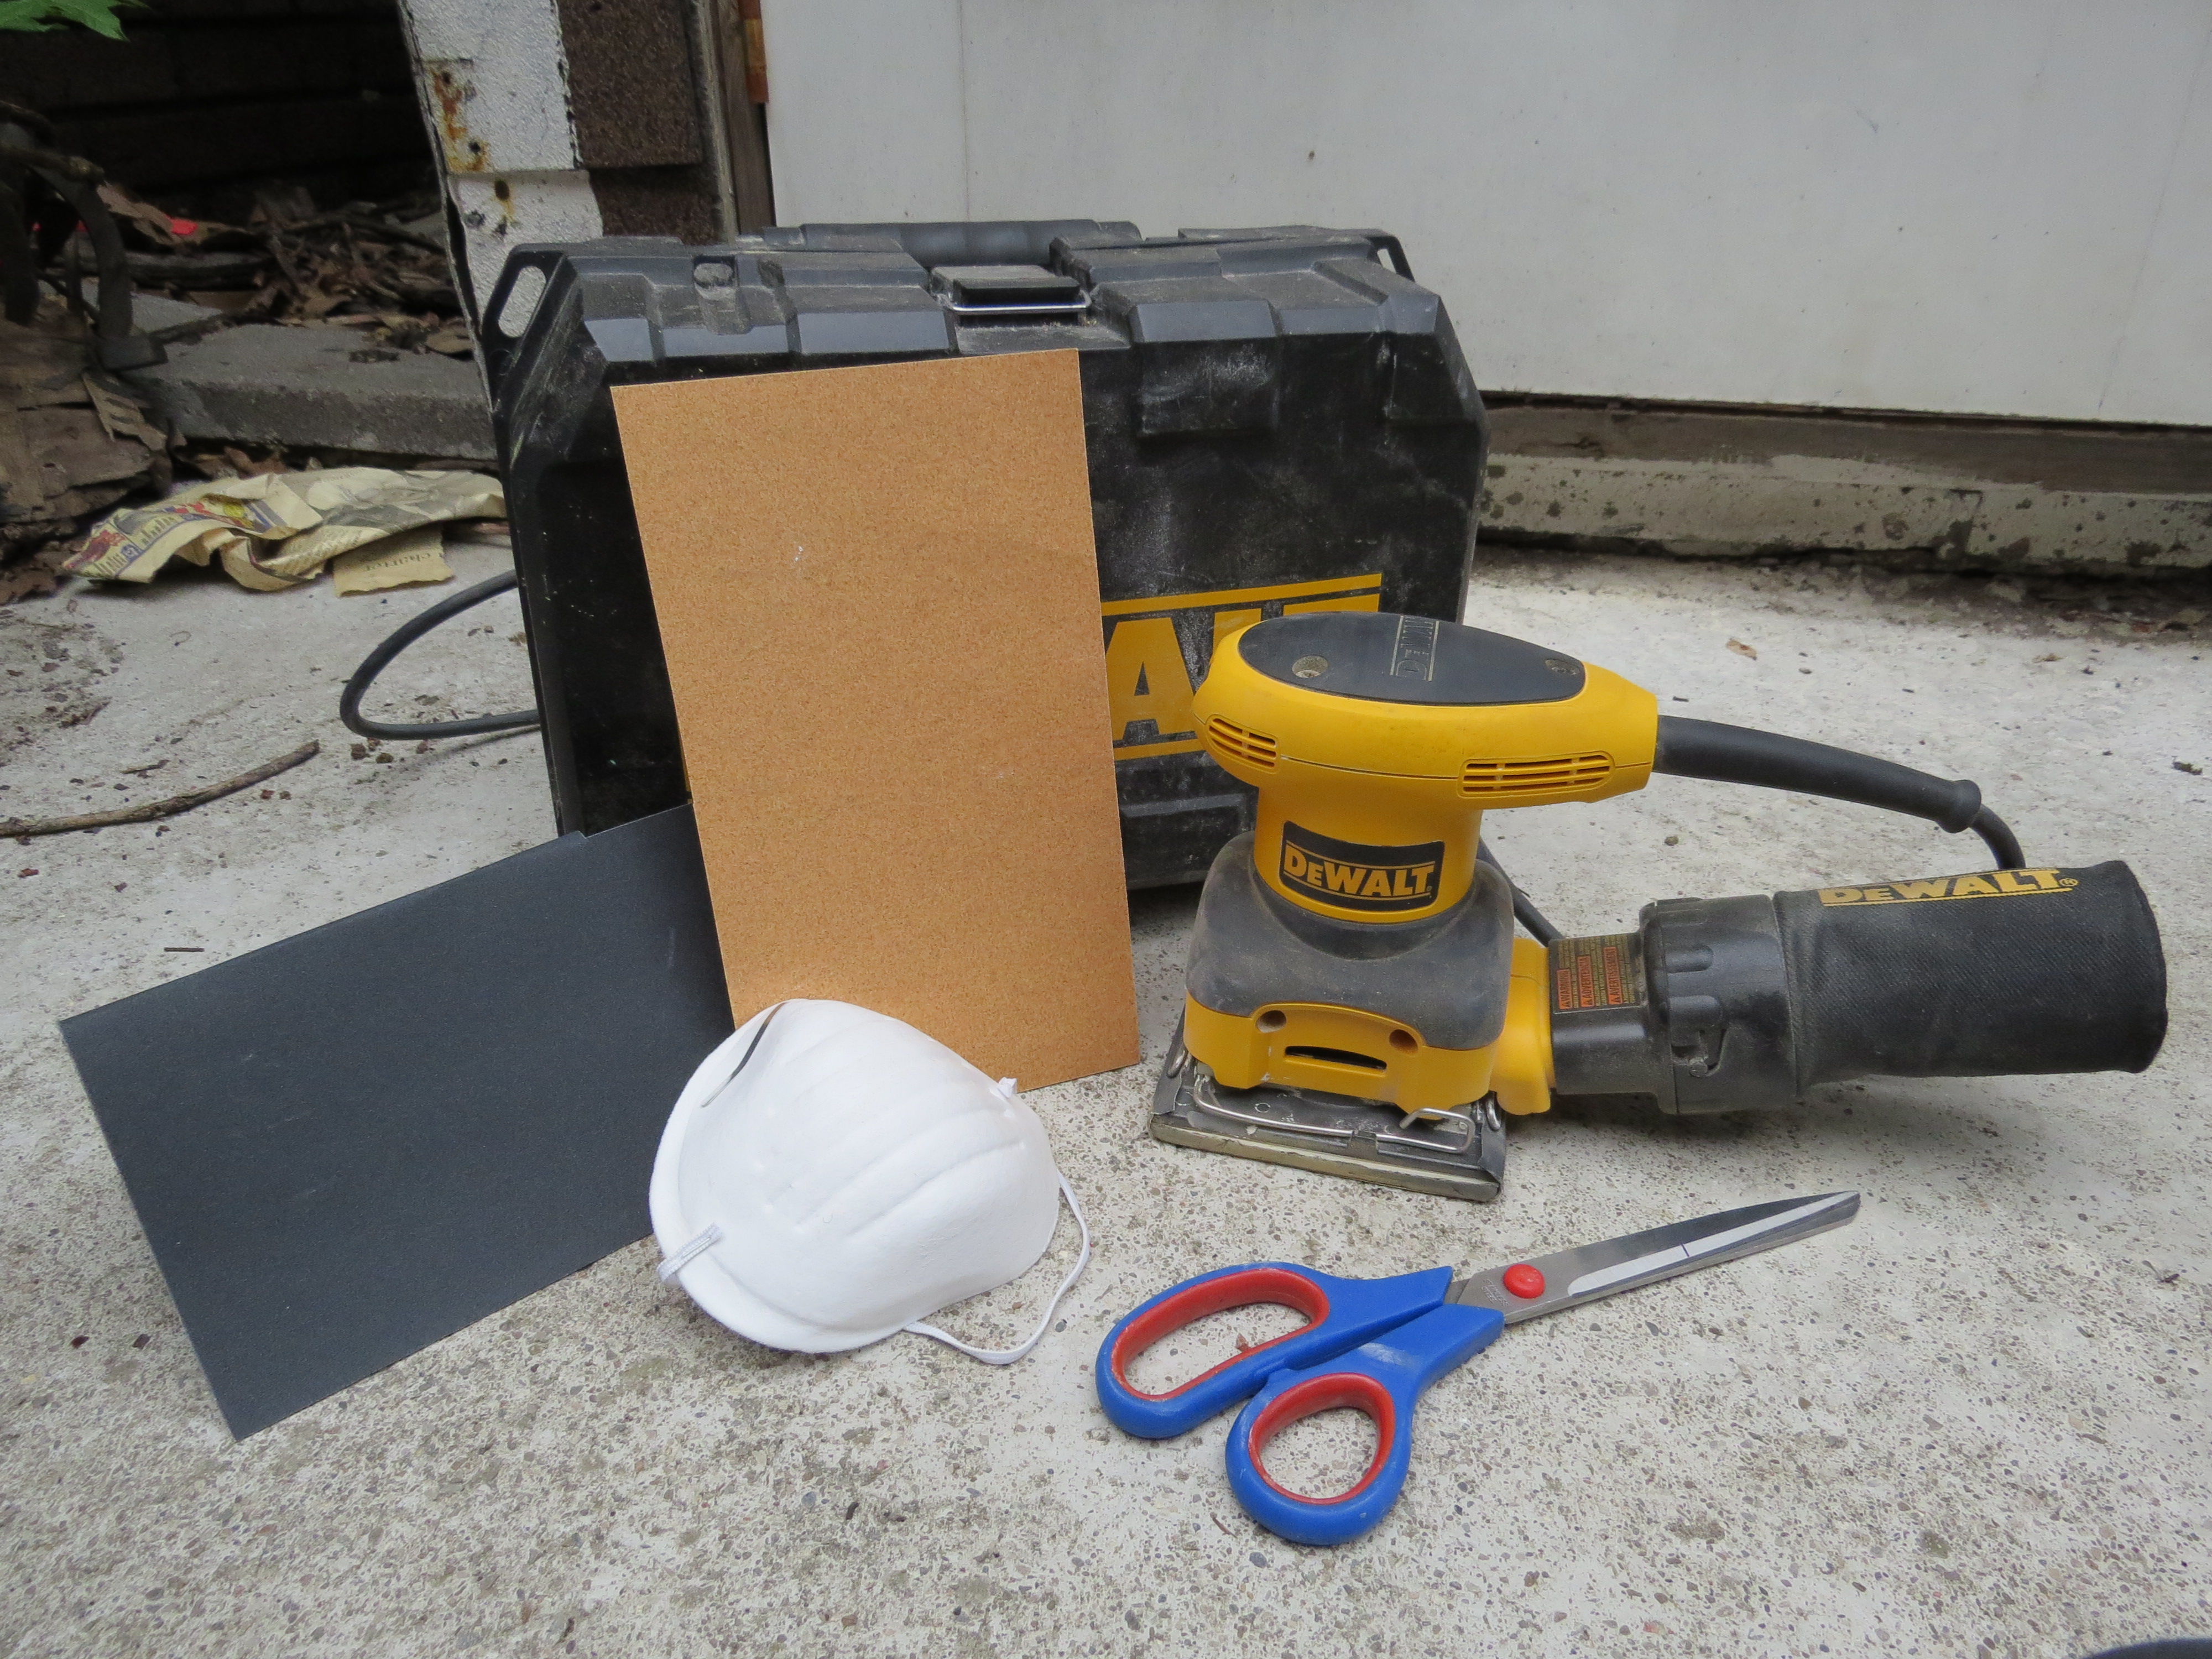
Gather your materials: two grades of sandpaper, a dust mask, pair of scissors (to cut the sandpaper), and a palm sander. Later, you’ll need paint (a primer/sealer for the first step, and a high gloss spray paint for the second step), I used white.
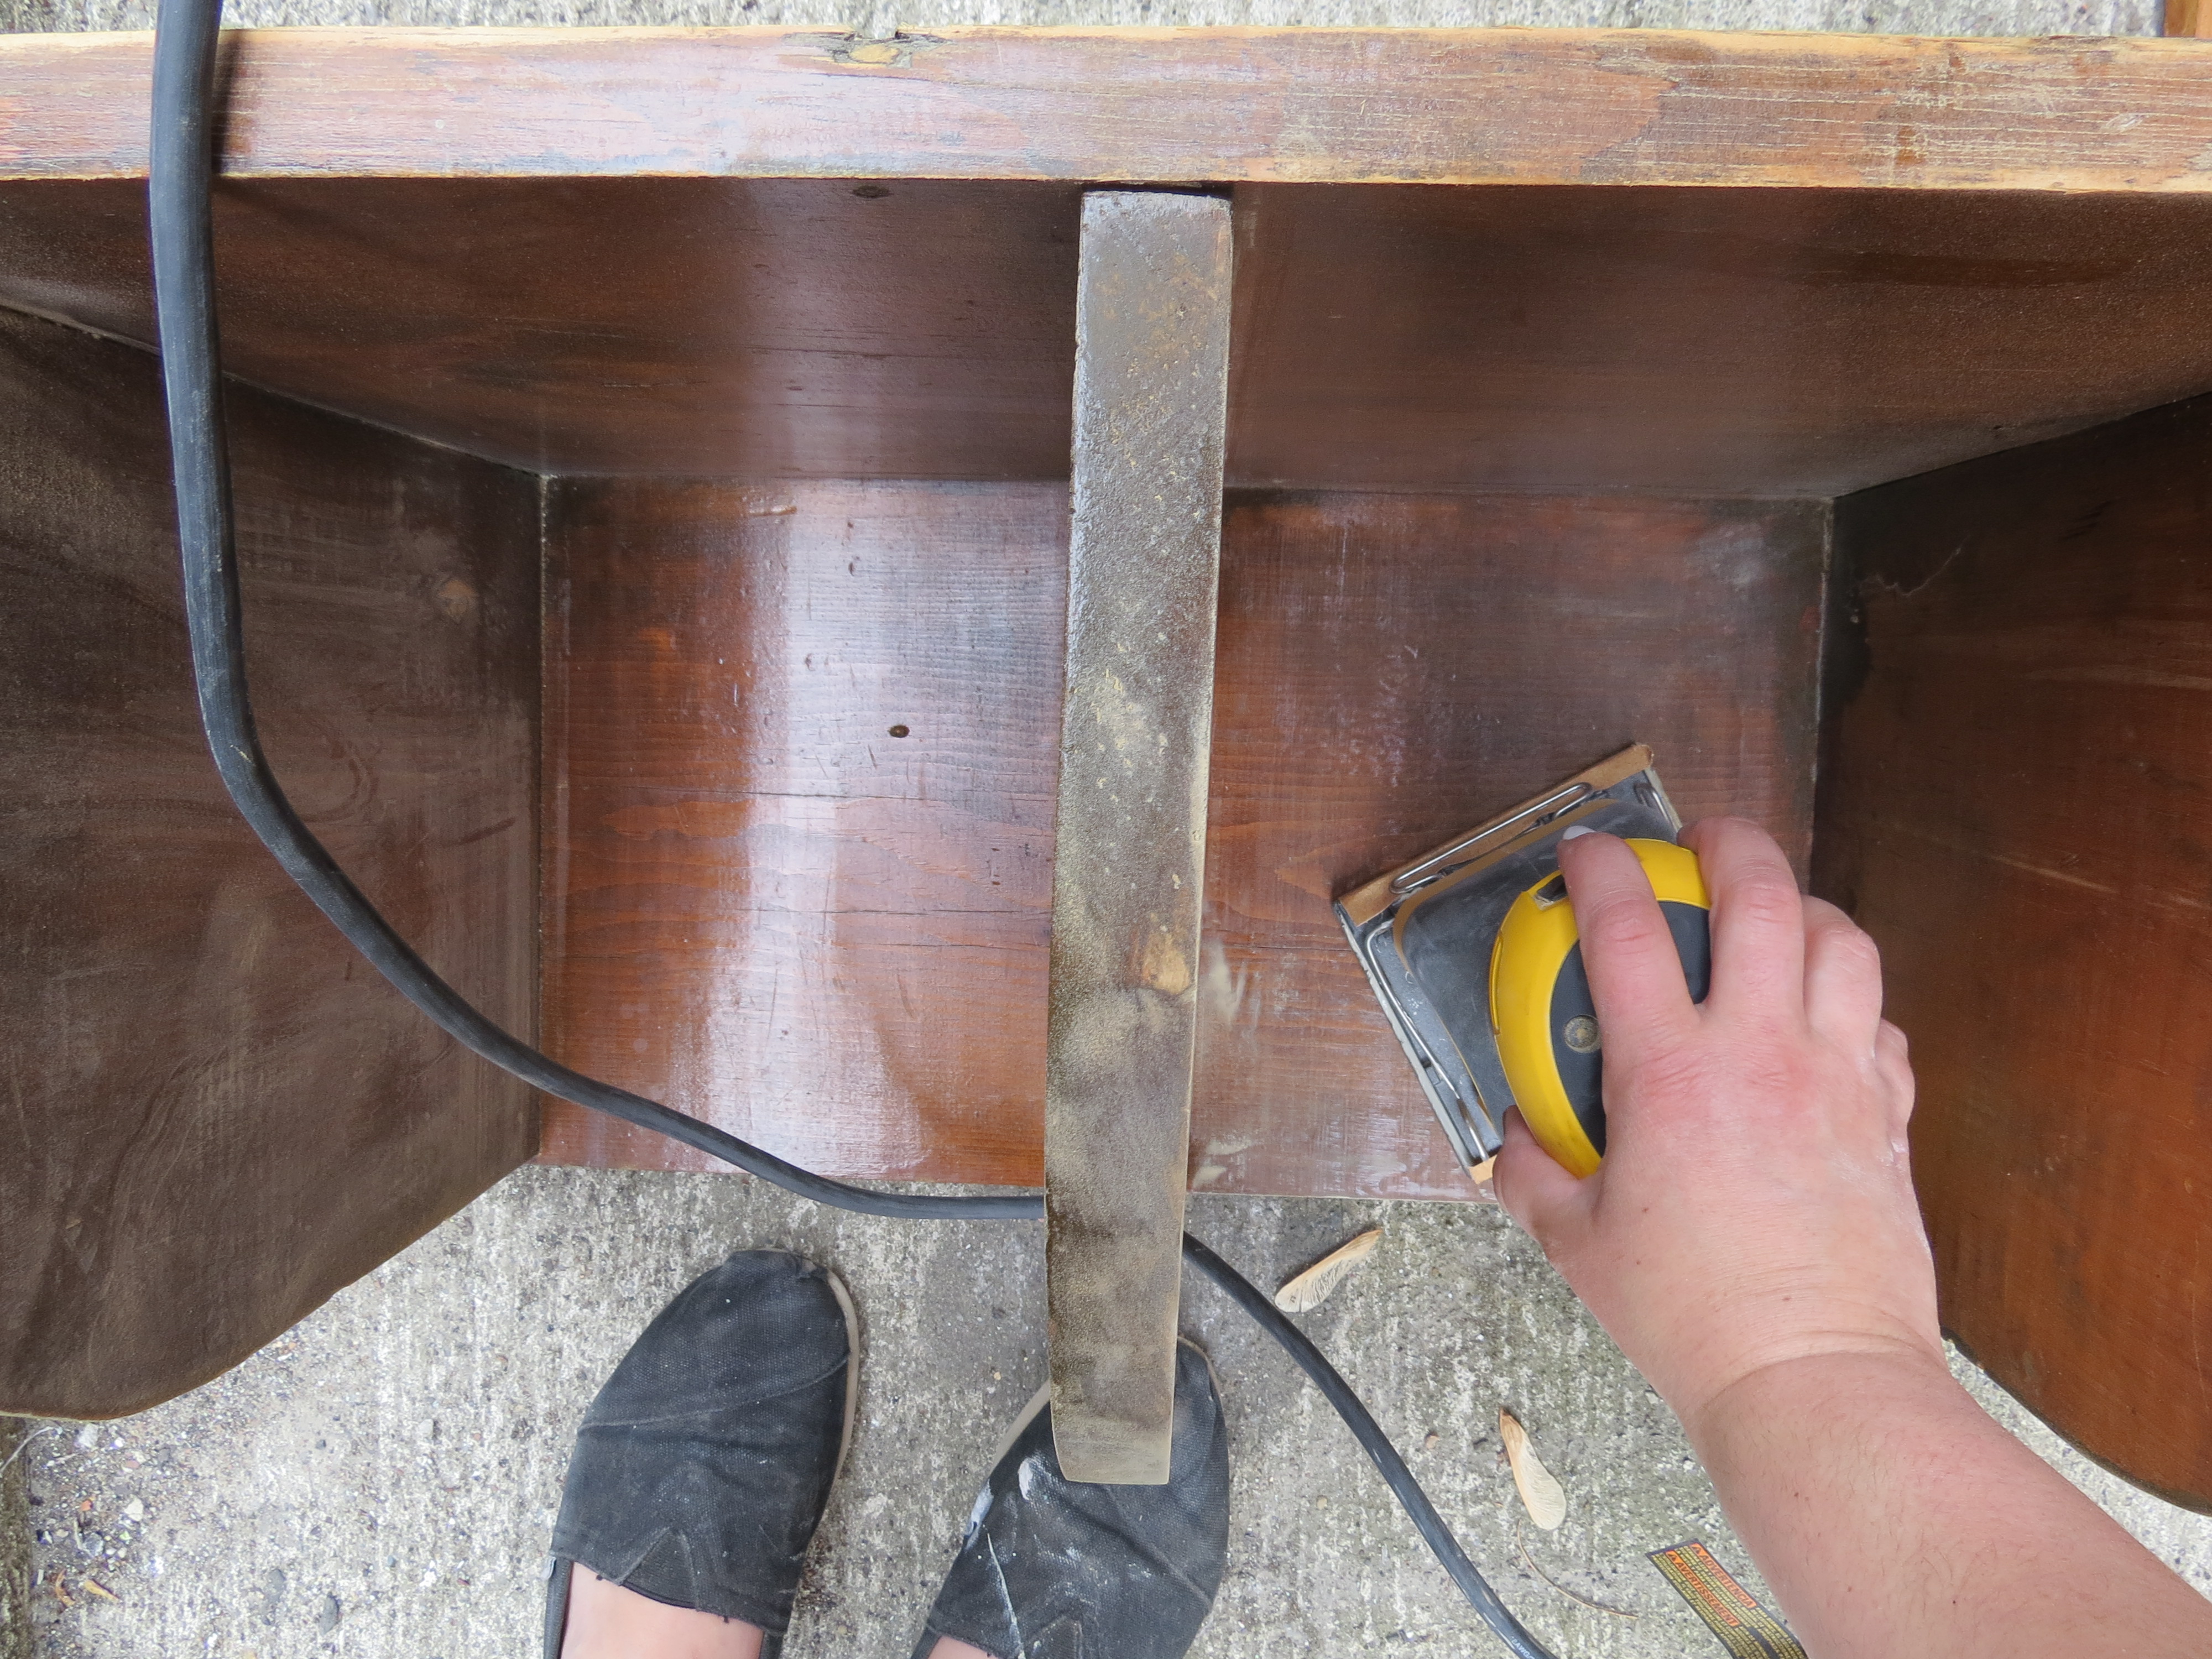
Sand every inch of that desk! Get rid of all the old stain/varnish. Don’t get lazy during this process, it’s hard to paint white over dark. The old varnish can and will seep through the white paint if you don’t sand right down to the bones of the desk.
Prime the desk! I used a roller first, and got into the nooks and crannies with a paint brush.

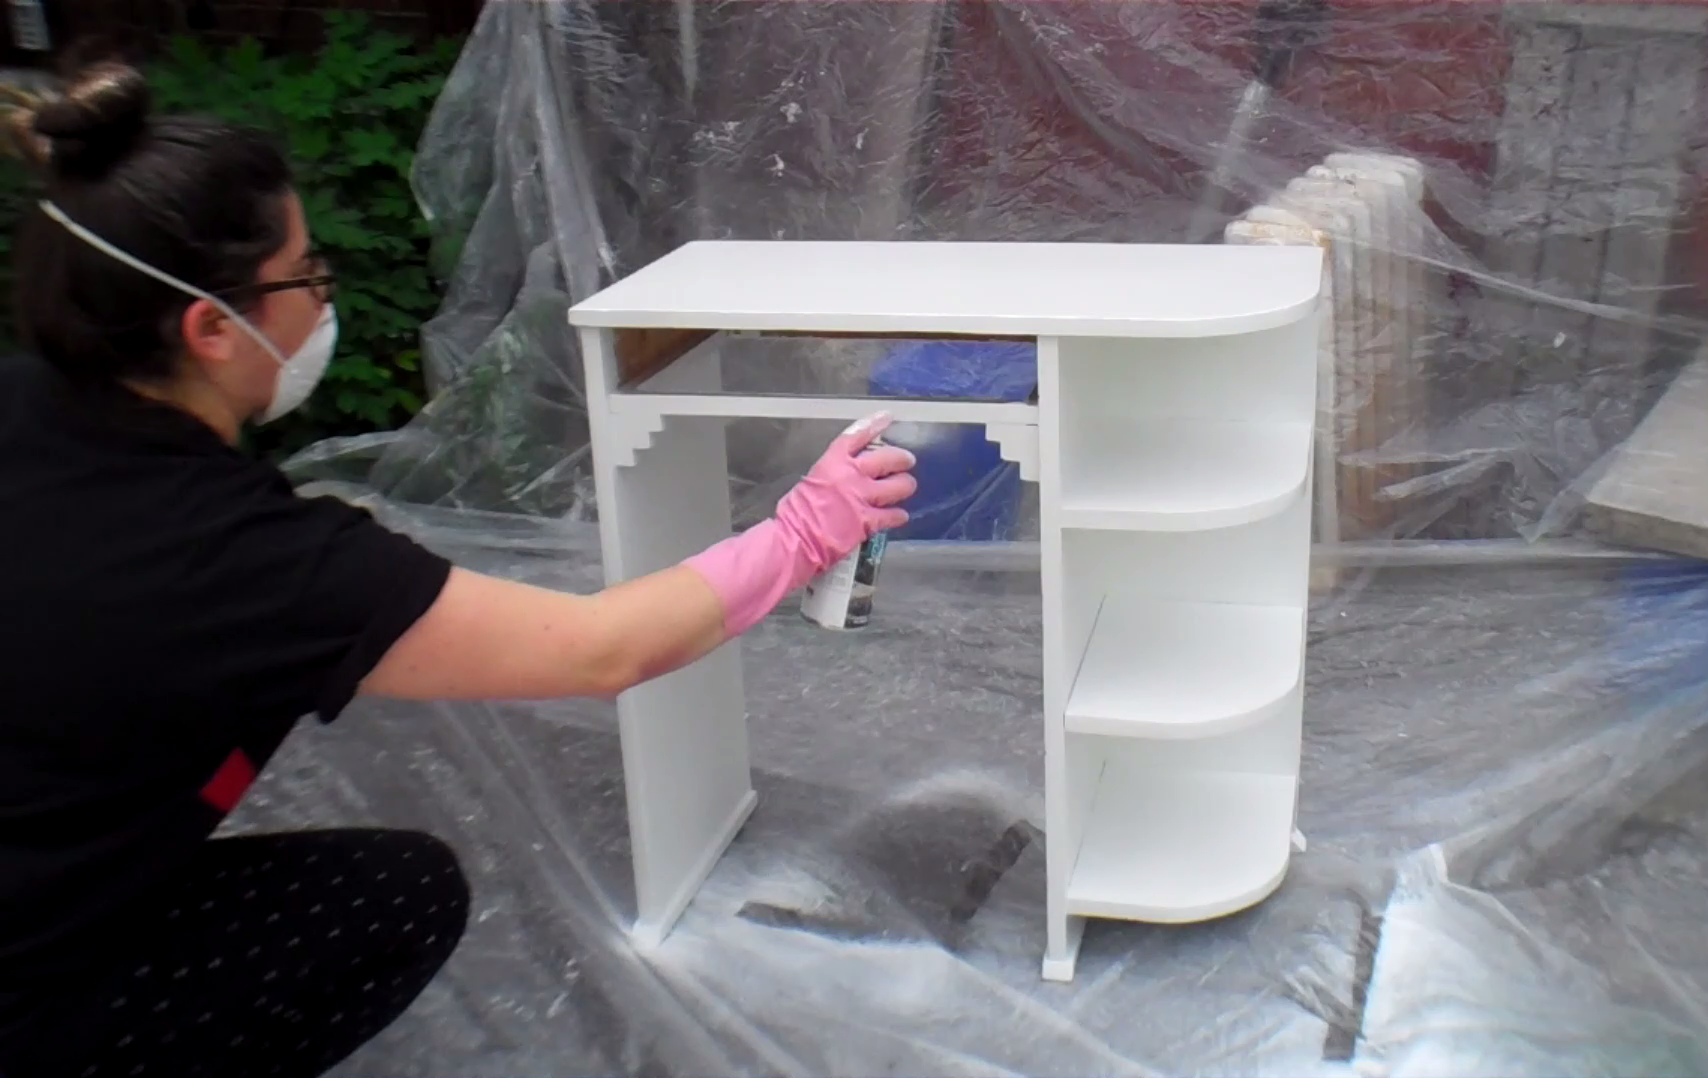
Make it glossy!
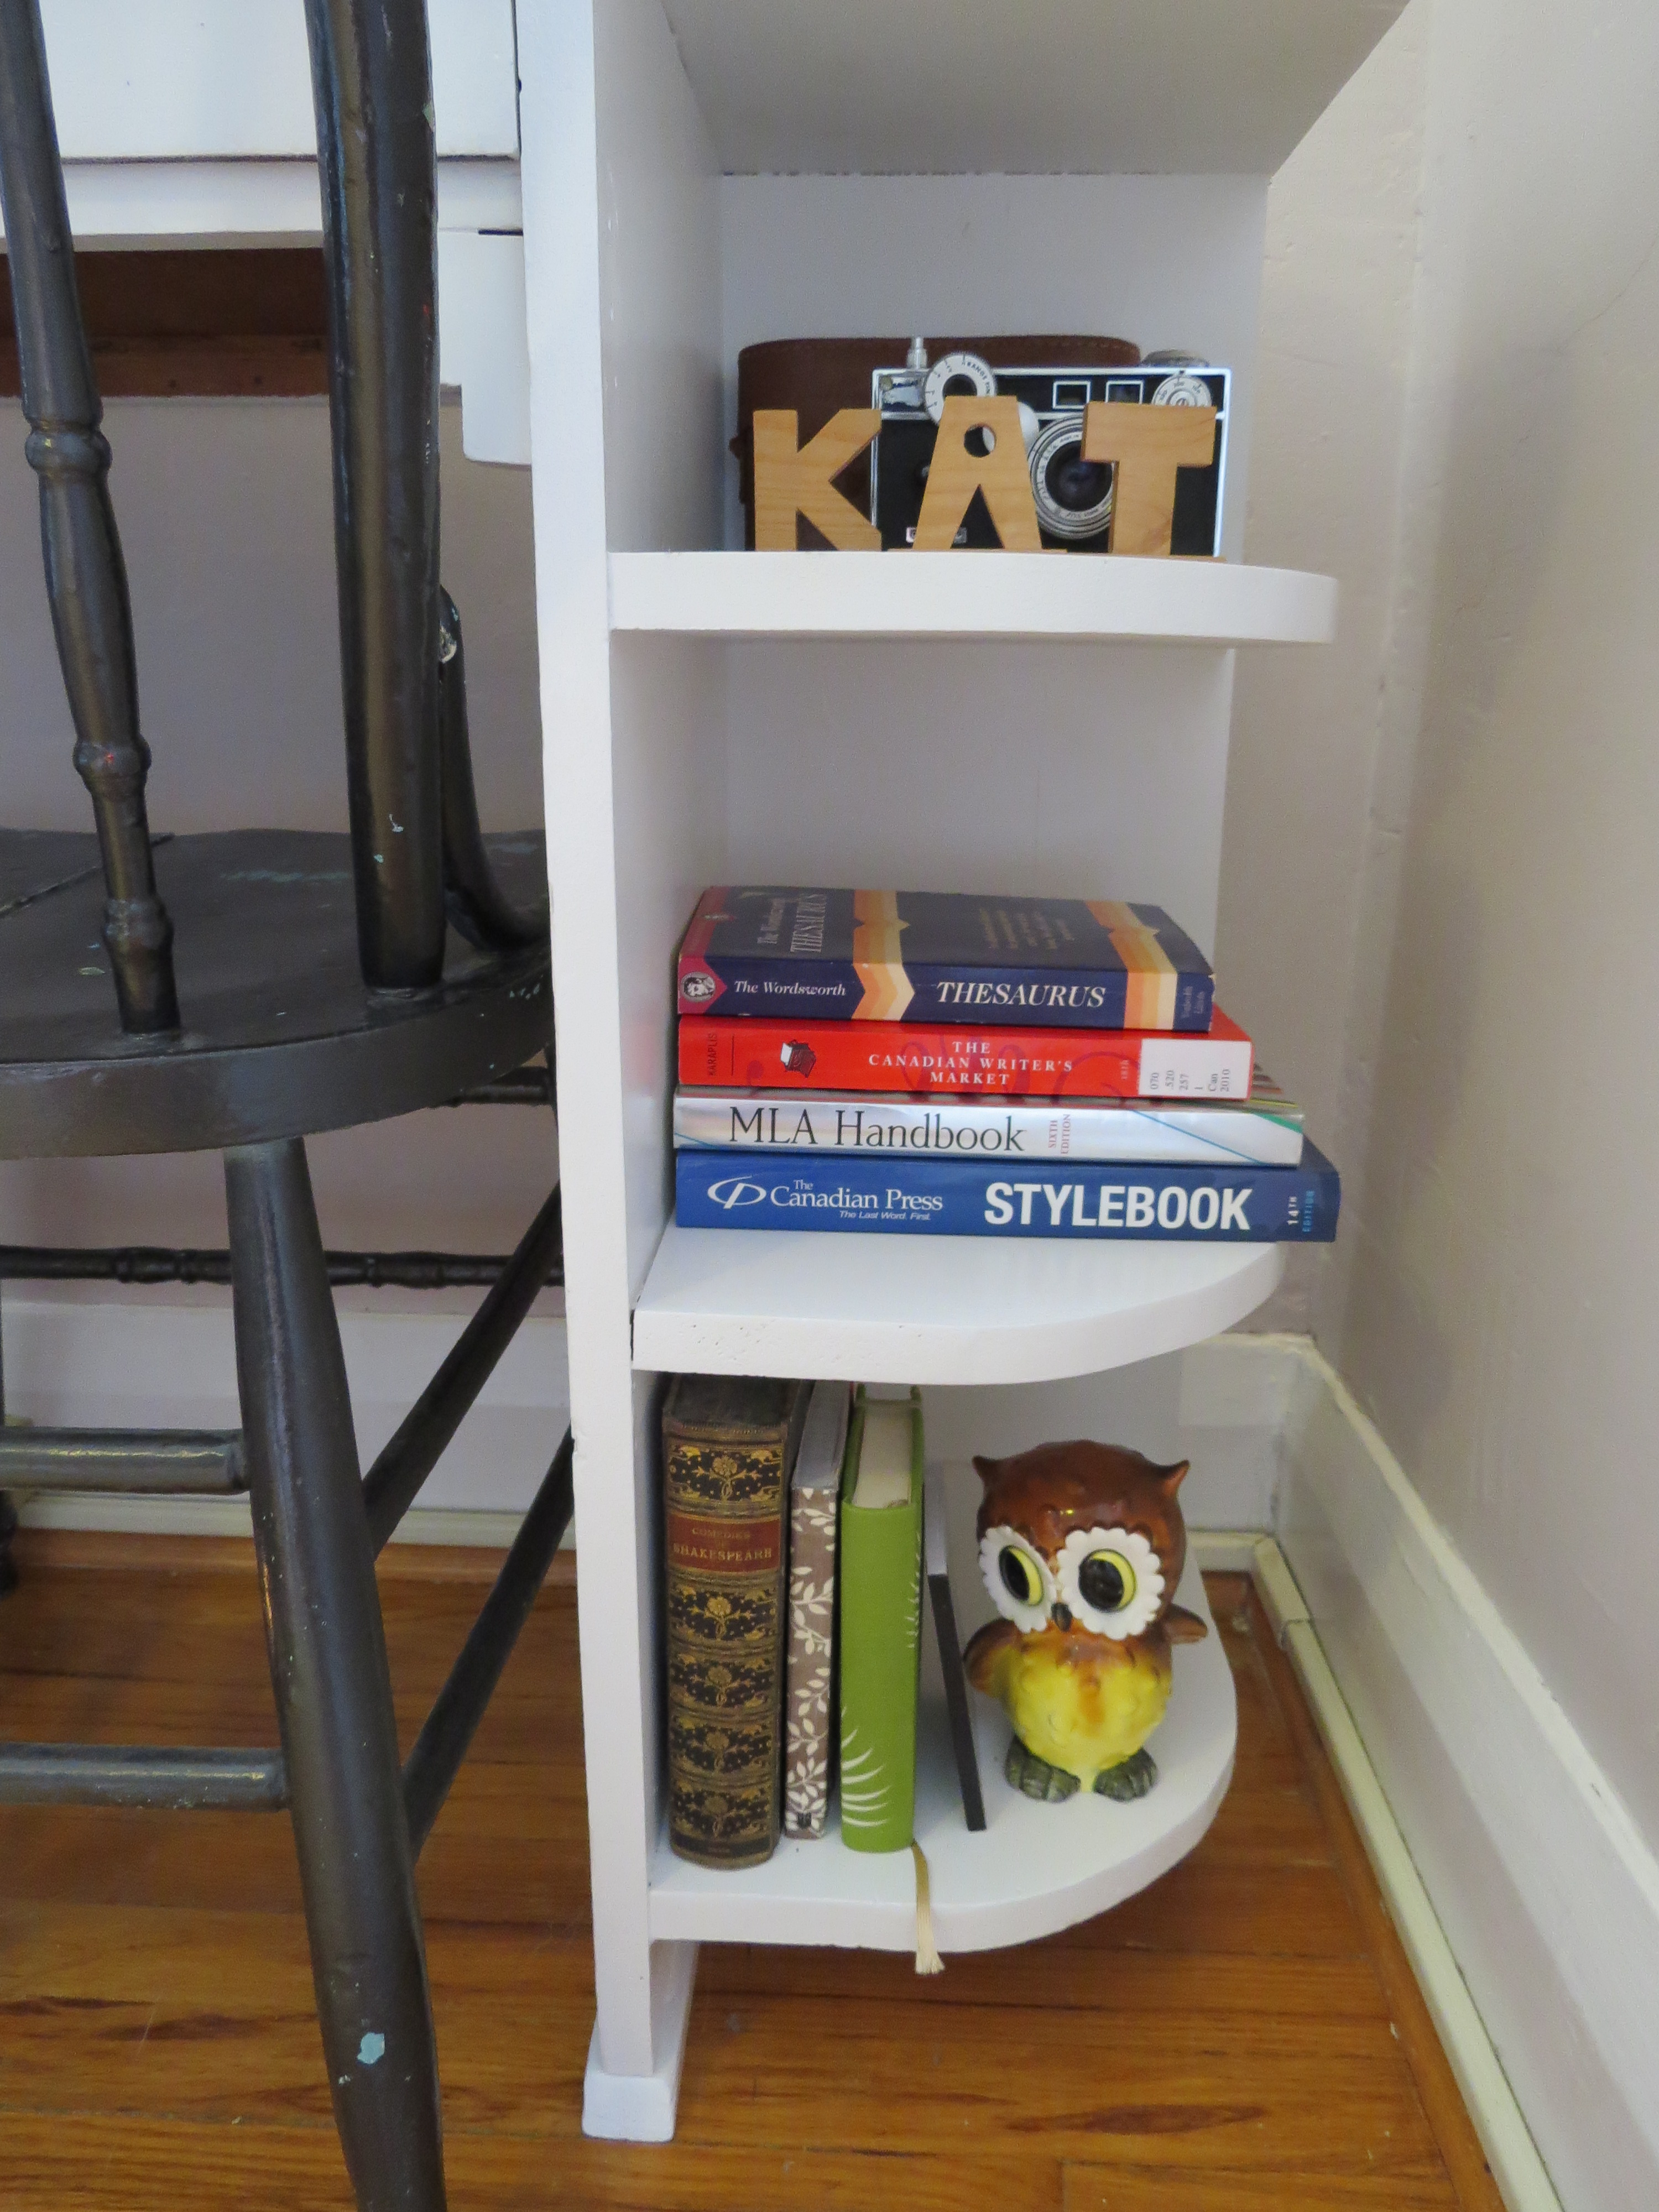
Install and decorate! Make sure to include all your most useless items, like a tiny container of thumbtacks for the bulletin board you don’t have, a retro camera that no longer works, and a cute little owl figurine to take up valuable shelf space.
If you’re more of a watcher than a reader, check out the video of how the whole reno went down!

